westcoastcosmos.com

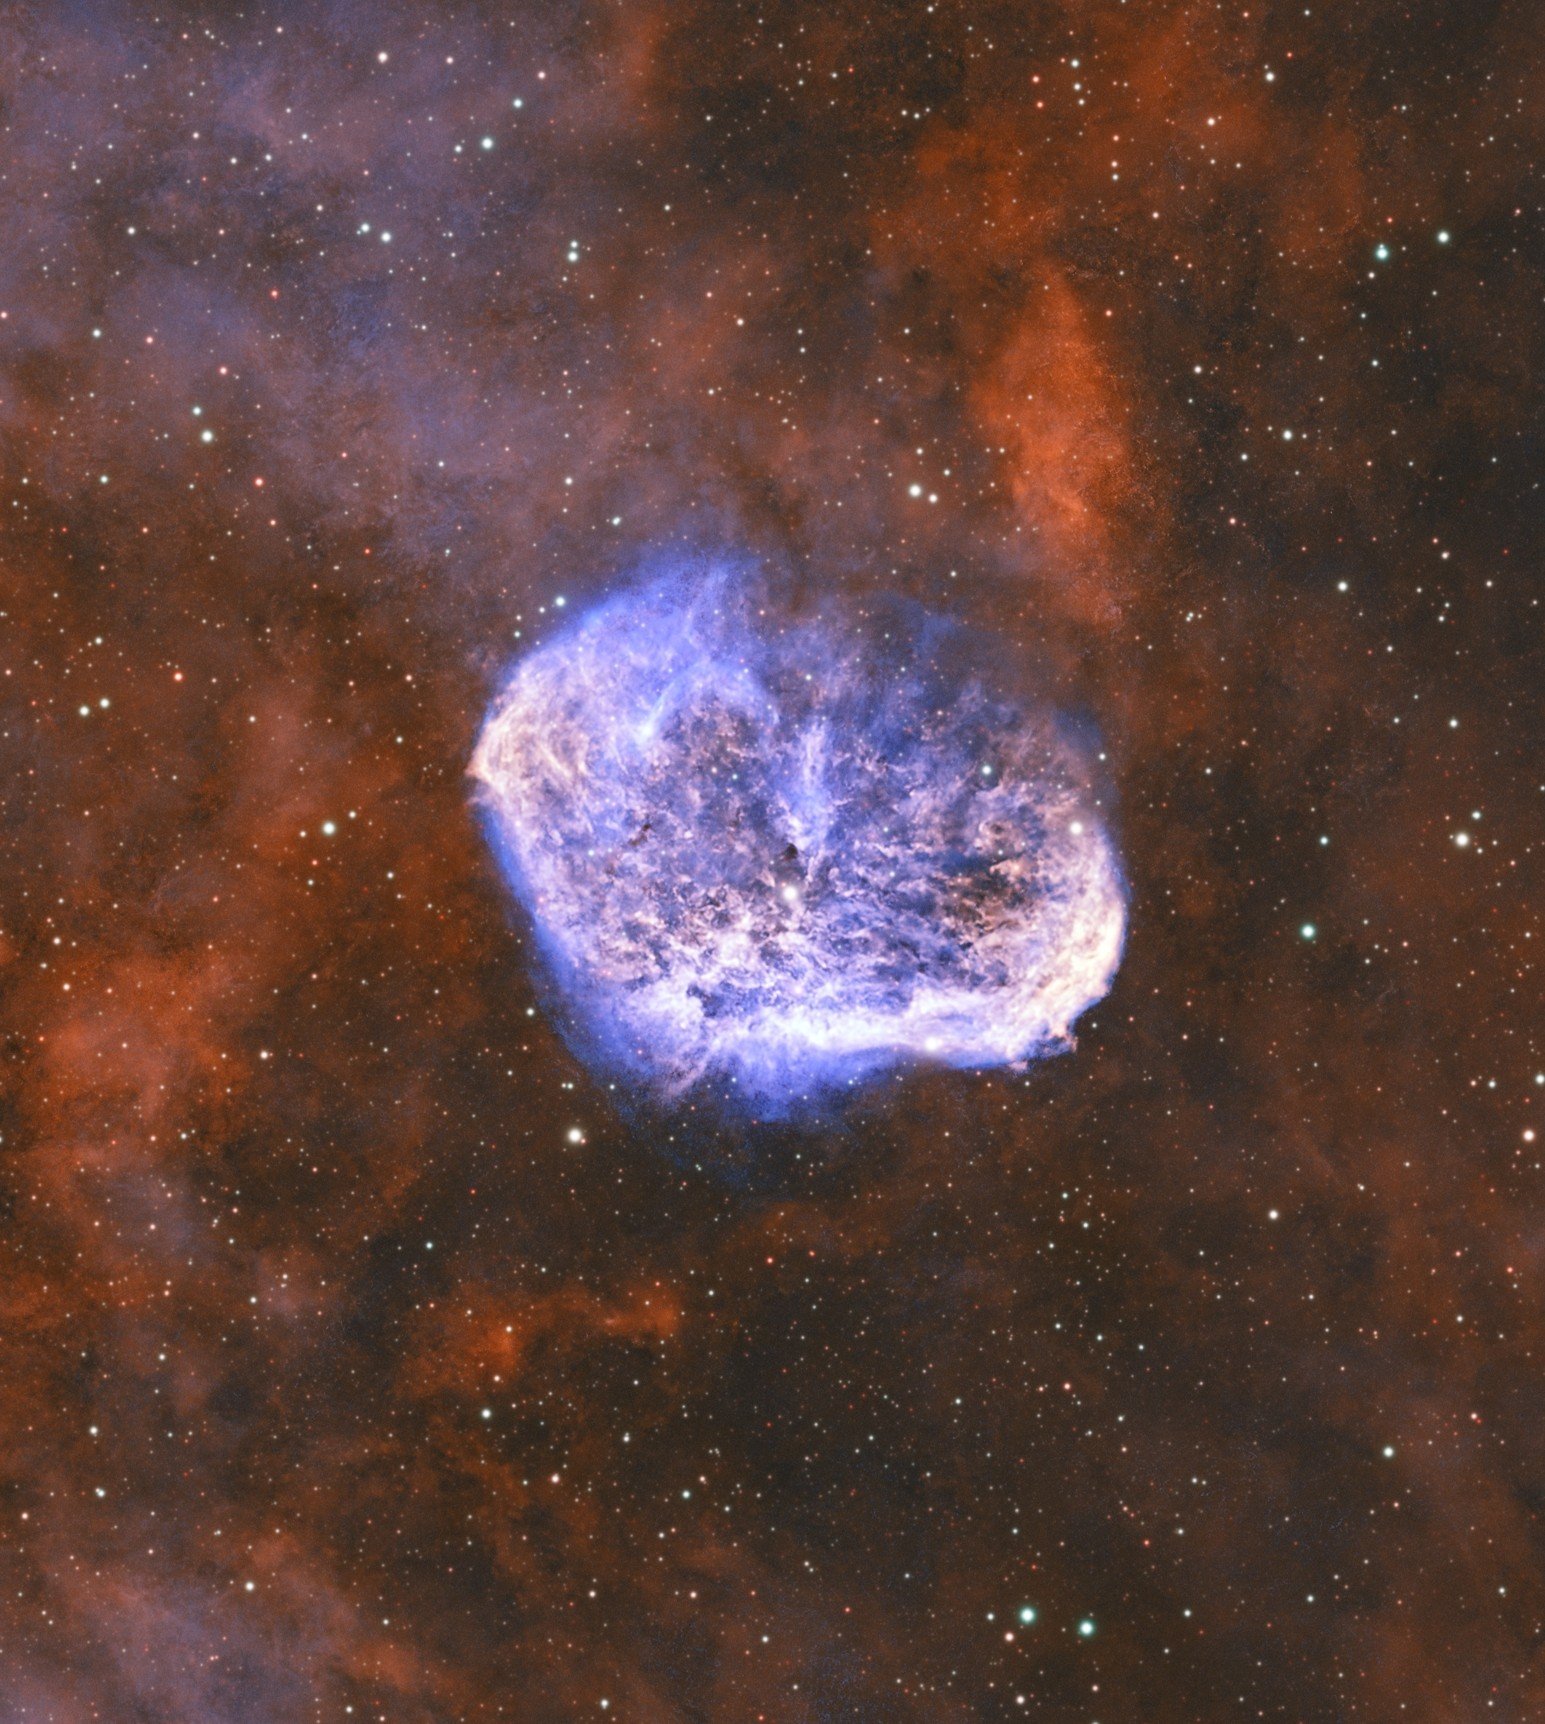
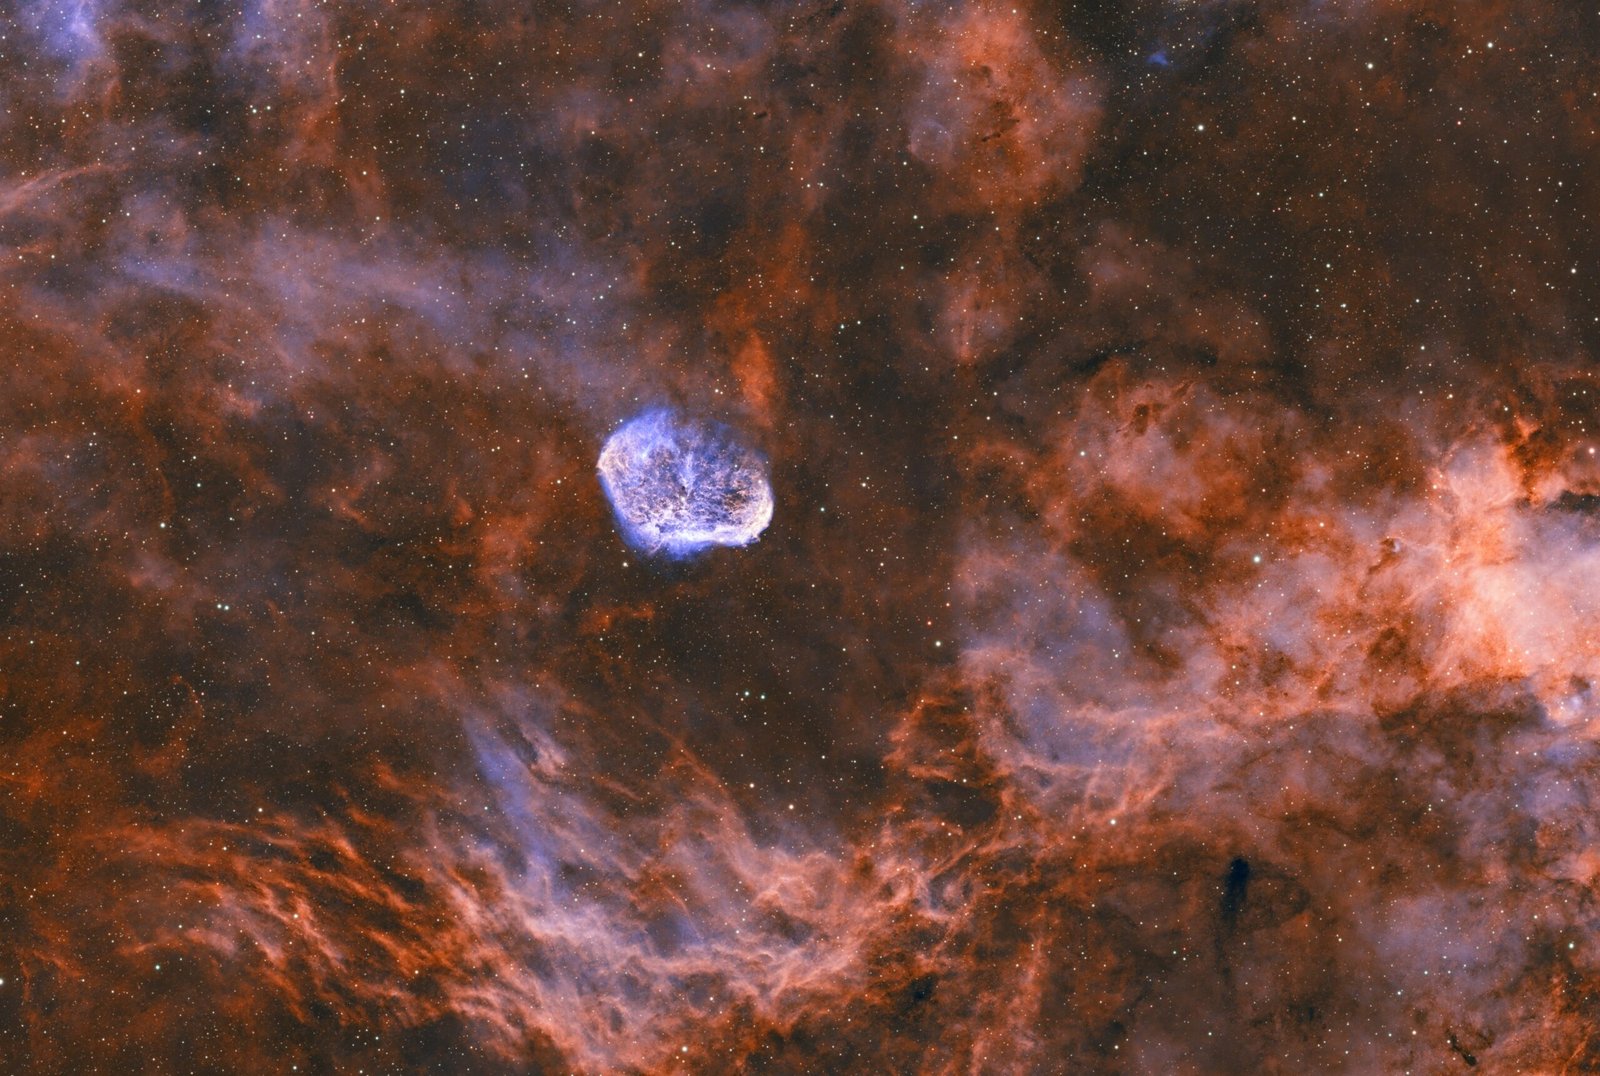
Crescent Nebula (NGC 6888) captured through deep-sky astrophotography, revealing glowing gas filaments and surrounding nebulosity

About The Crescent Nebula

The Crescent Nebula (NGC 6888) lies around 4,700 light-years from Earth, in the constellation Cygnus. First discovered by William Herschel in 1792, it was given its name because, through the telescopes available at the time, its brightest features appeared to form a simple crescent shape. With modern imaging, we can see that there is considerably more going on here than a cosmic half-moon.At its heart lies WR 136, an enormous, incredibly hot star nearing the end of its life. Classified as a Wolf-Rayet star, it is shedding material through powerful stellar winds. Earlier in its life, the star expelled its outer layers into space. Its current, much faster stellar wind is now crashing into that older material, compressing and heating it into an intricate, expanding shell of gas. The result is a vast structure roughly 25 light-years across.And this is where things get interesting. Despite its name, the Crescent Nebula is actually more like a giant, turbulent bubble of gas, its surface torn into a chaotic network of filaments, knots and folds. Much of what we see is glowing hydrogen, oxygen and other ionised elements, energised by the star's intense radiation and the violent collision of stellar winds. The bubble isn't a solid shell, but a complex, ragged structure of gas, with a thin outer skin surrounding a mass of intricate detail.Depending on how you look at it, the result resembles a Rice Krispie or, perhaps, a rather unfortunate severed space testicle. Either way, it's a considerable departure from the elegant crescent that William Herschel originally saw.What first attracted me to this target was its shape when viewed up close. The more I zoomed in, the stranger it became. The intricate folds, ripples and tangled textures seemed almost surreal, with parts of the nebula resembling the convoluted surface of a brain. It looks less like a distant cloud of gas and more like something organic, alive and impossibly intricate.That's what makes the Crescent Nebula such a fascinating object to photograph. Beyond the familiar outline lies a remarkable landscape of cosmic turbulence — the remnants of a star tearing apart its surroundings as it approaches the final stages of its life.

Capturing

The Crescent Nebula was captured over six nights in July, which meant plenty of late nights under the summer skies. Framing the target was relatively straightforward, as the distinctive crescent — or bubble — shape was already visible in the ASIAIR preview, making it easy to position within the frame.This was only my second proper deep-sky imaging project, so I was still very much in the learning phase, getting to grips with the equipment, capture settings and overall workflow.In total, I managed to capture 98 sub-exposures of 180 seconds each, giving me just under five hours of integration time. Imaging under Bortle 4.5 skies helped, although the relatively short integration time did leave some noticeable noise in the final image.With hindsight, more exposure time would undoubtedly have helped bring out the finer details and produce a cleaner result. Nevertheless, for only my second serious attempt at deep-sky astrophotography, I was happy with the outcome. There was plenty to learn from the session, and capturing an object this strange and intricate felt like a worthwhile achievement in itself.

Equipment Used

The image was captured using an Askar 71F telescope at 490mm focal length, mounted on a Sky-Watcher EQ-AL55i PRO. Imaging was performed with a cooled ZWO ASI2600MC P colour camera and ZWO DB2 Duo-Band filter.

Guiding was provided by a ZWO 30mm F5 APO Mini Guide Scope, with acquisition and mount control handled through the ZWO ASIAIR Mini.

Processing

I was originally planning to capture more data on the Crescent Nebula, but impatience got the better of me. I decided to stack what I had and see what I could produce, rather than wait for another clear spell. The final result was something I was reasonably satisfied with, although the limited integration time did present some challenges.

This project was another reminder that processing matters just as much as capturing the data. Looking back at some of my earliest attempts, the results were pretty woeful. Colours were often off, faint nebulosity remained hidden, and I struggled to achieve consistent results from one processing session to the next. Knowing how to capture the data is one thing; learning how to turn it into a finished image is quite another.

For this image, I settled on the following workflow in PixInsight, using a combination of its built-in tools, RC-Astro plugins and Seiti Astro scripts. Workflow as follows:

  1. Spectrophotometric Colour Calibration (SPCC) – to establish a more accurate colour balance.

  2. Gradient Correction – to tackle uneven background illumination.

  3. RC-Astro BlurXTerminator – Correct Only – to correct optical and imaging imperfections without applying additional sharpening at this stage.

  4. RC-Astro StarXTerminator – to separate the stars from the nebula, allowing each to be processed independently.

  5. RC-Astro NoiseXTerminator – first pass – a relatively gentle initial noise reduction before stretching the image.

  6. Seiti Astro Star Stretch – my favourite way to stretch the stars. I find it keeps them sharp and relatively unobtrusive, rather than allowing them to dominate the finished image.

  7. Seiti Astro Statistical Stretch – applied to the starless nebula image to reveal the fainter structures and bring out the detail.

  8. Narrowband Normalisation – HOO, with an OIII boost – to develop the hydrogen and oxygen colour palette and emphasise the oxygen signal.

  9. Selective Colour Masks – to make targeted adjustments to specific colours and areas of the nebula.

  10. Curves Adjustments – to refine contrast, colour saturation and the overall appearance of the image.

  11. RC-Astro BlurXTerminator – non-stellar sharpening – to enhance the fine structures and textures within the nebula without unnecessarily sharpening the stars.

  12. RC-Astro NoiseXTerminator – final pass – a stronger final noise-reduction pass to clean up the finished image.

Separating the stars from the nebula was particularly useful, as it allowed me to stretch and enhance the two elements independently. The aim was to reveal as much of the Crescent’s intricate structure as possible while keeping the stars sharp and controlled.

With less than five hours of integration, noise was always going to be a limitation. Even so, I was pleased with what I could achieve from the data available. The processing wasn’t perfect, but each image teaches me something new, and this one was another step forward in learning how to turn hours of captured photons into a finished deep-sky image.

```html

Crescent Nebula — From Linear Data to Final Image

See how the Crescent Nebula looked when first opened in PixInsight, compared with the finished image after processing.
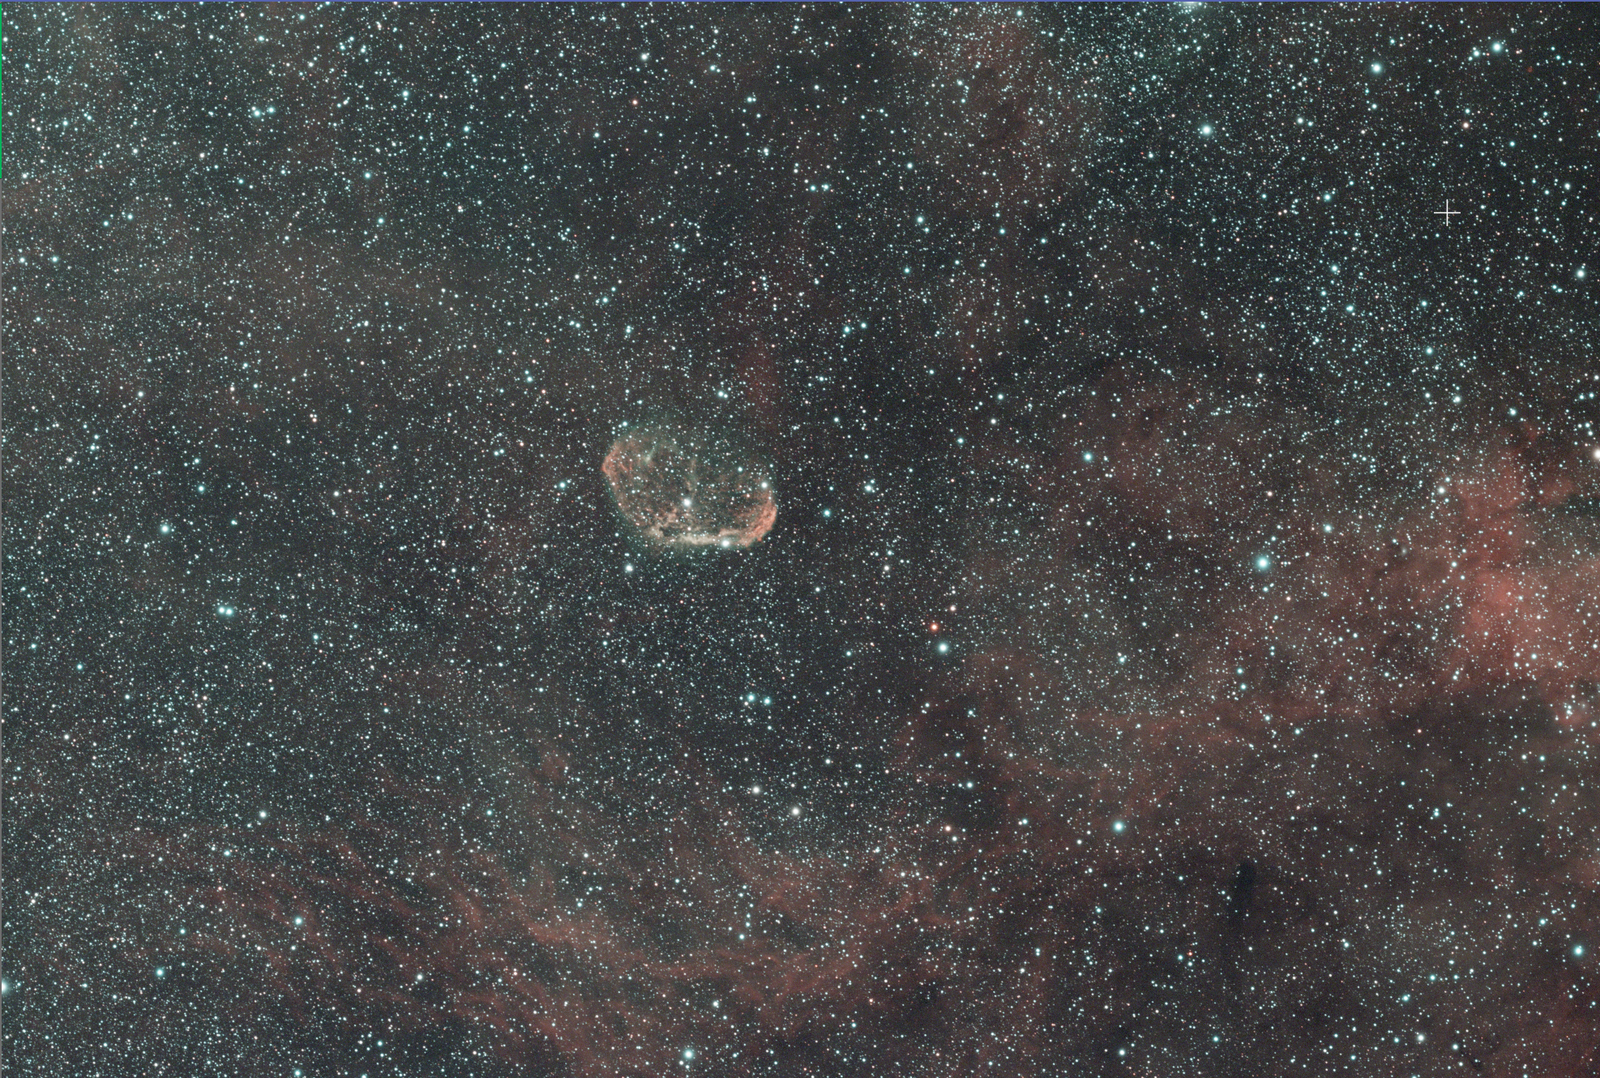
Crescent Nebula data as first opened in PixInsight
Finished processed image of the Crescent Nebula
First opened in PixInsight
Final processed image

Raw astrophotography data can look dark and almost featureless when first opened. Processing reveals the Crescent Nebula's delicate structure, colour and surrounding nebulosity captured over the imaging session.

```

Close Up

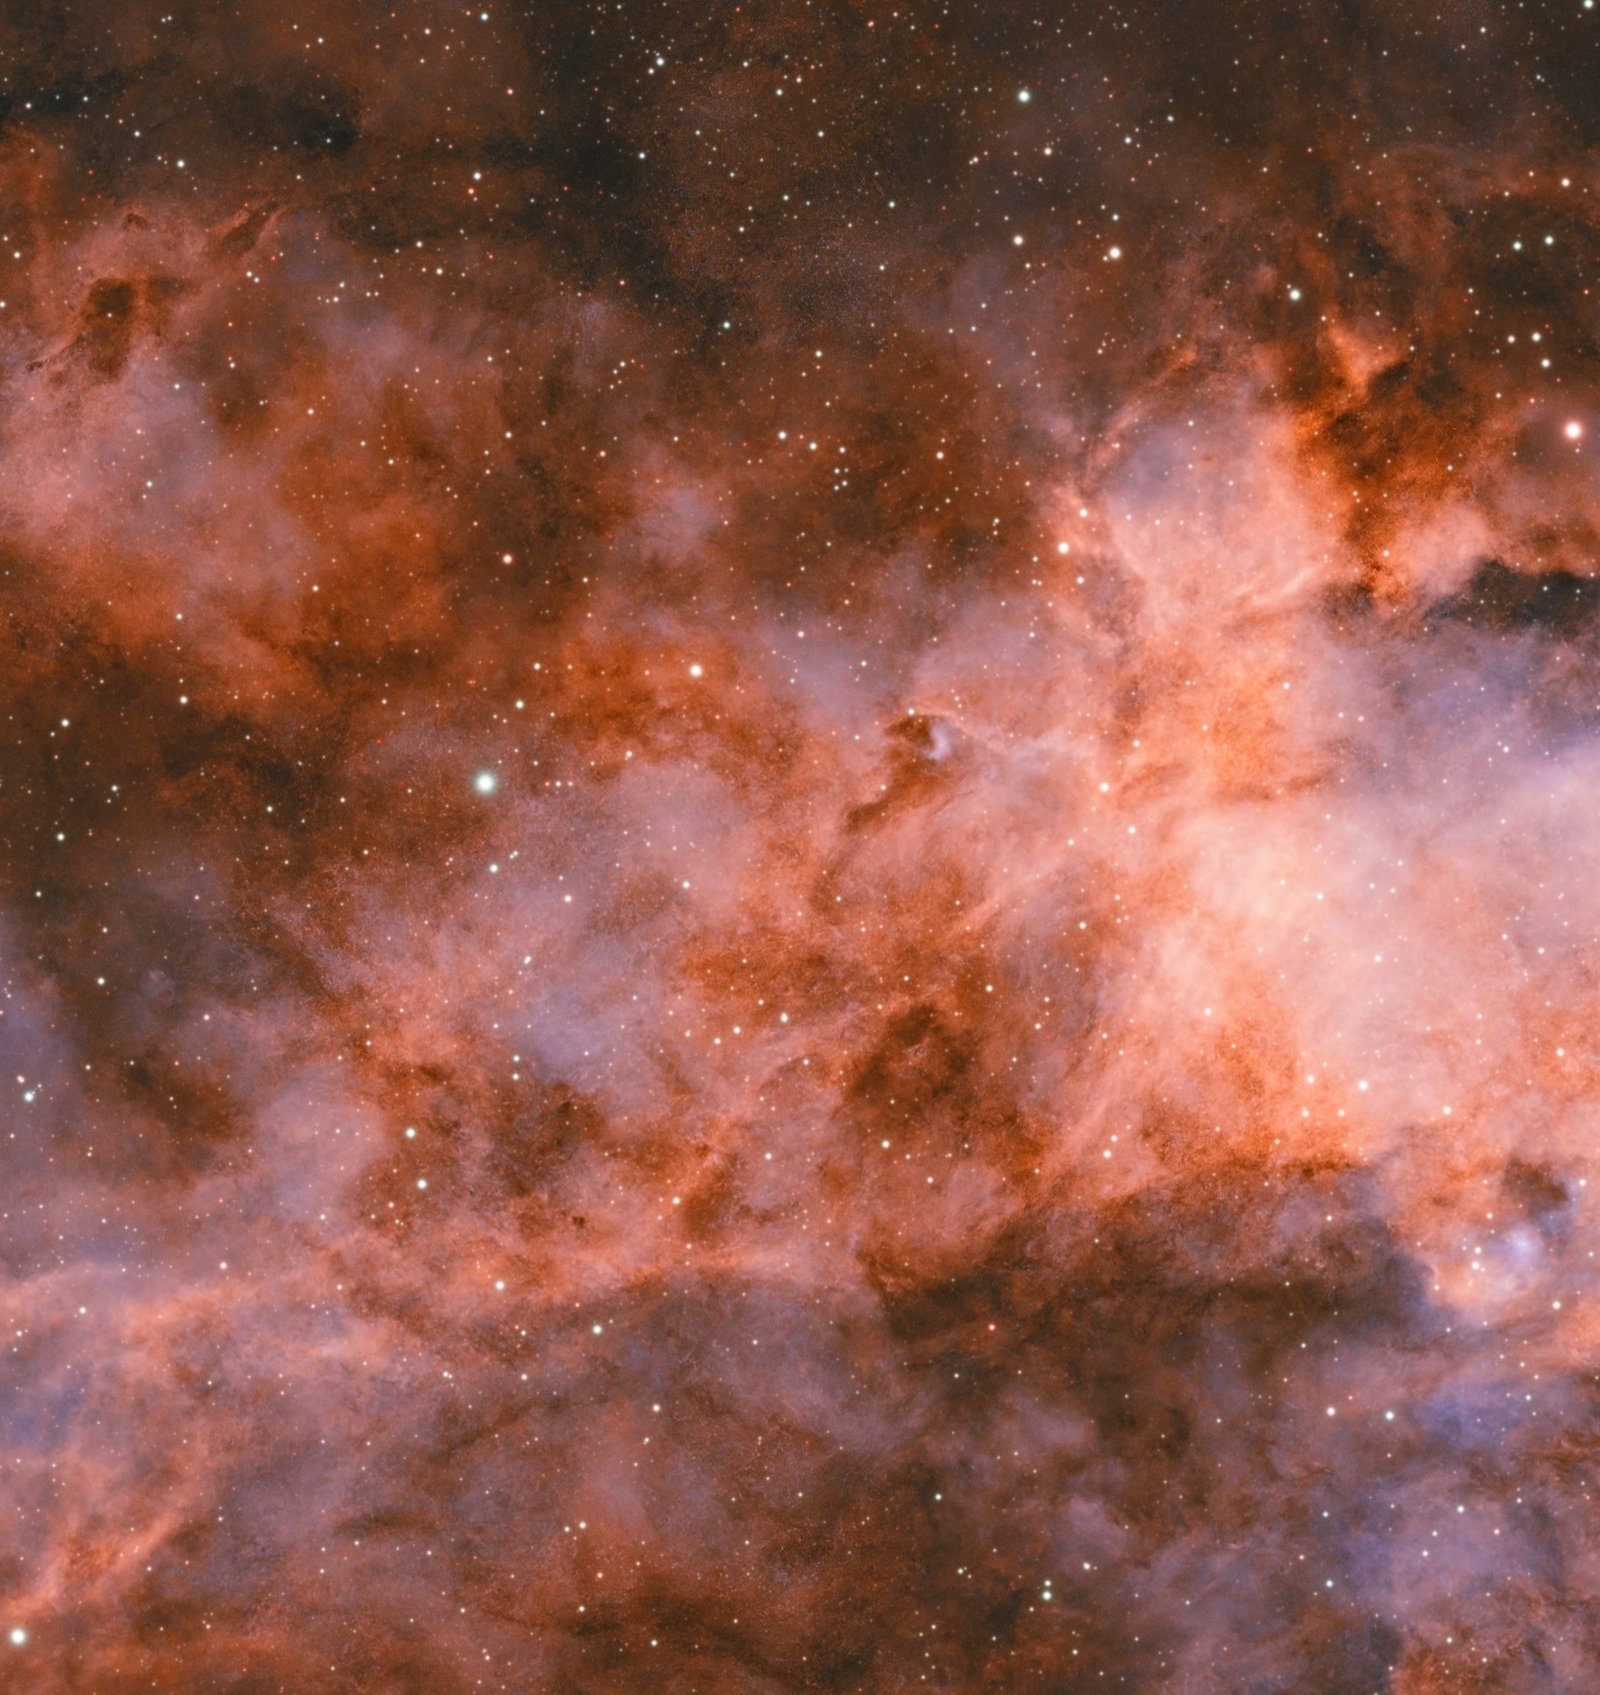
Detailed crops and close-up views highlighting features within the final image